hello friends, In this blog post(How to Add a Border to a Photo with Photoshop) we are going to let you know how to add a border to a photo with Photoshop. This
is very amazing and requires to have a photo with a border, whether it is a party photo or a passport-size photograph. Border adds an extra effect to your photo.
But, do you know how to add a border to a photo with Photoshop?
If it is yes, then it is well and good but if you don’t know this functionality then don’t worry about it. I will let you know in detail the full procedure to add a border to a photo with Photoshop |How to Add a Border to a Photo with Photoshop|
This is a very simple procedure to add a border to a photo with Photoshop. Just follow the below-given procedure step by step.
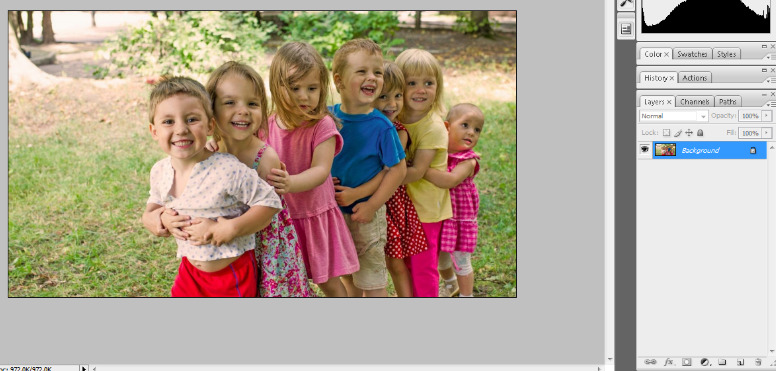
First, open a new image in the Photoshop window in which you want to make a border.
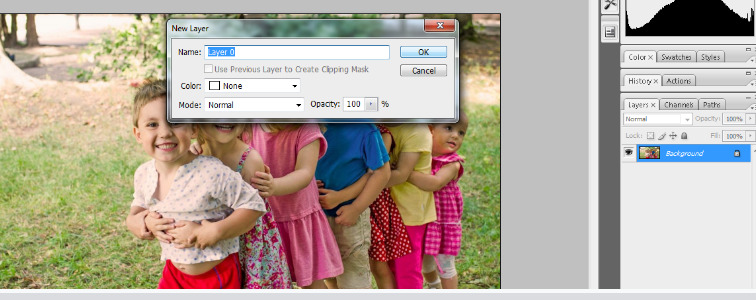
Then unlock the background image as the background image does not support various functionalities like transparency etc.
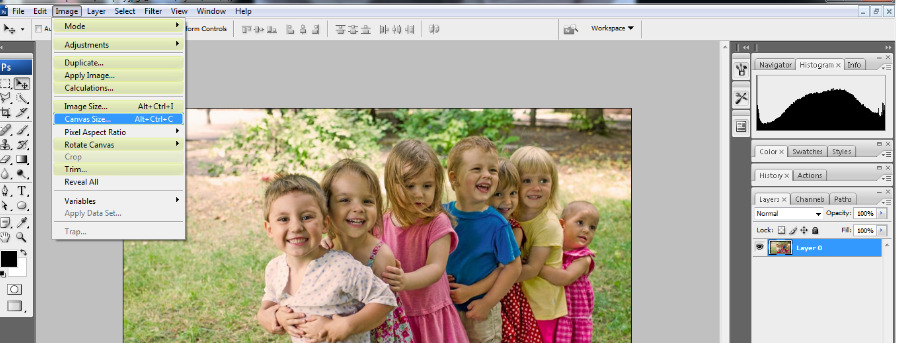
Now for making a border around the image, we need to increase the canvas size. For increasing the canvas size just go to the menu bar and then click Image->canvas size.
Set the parameter as per your requirement, which means to say how width for a border you want around the image.
See the below image for the same.
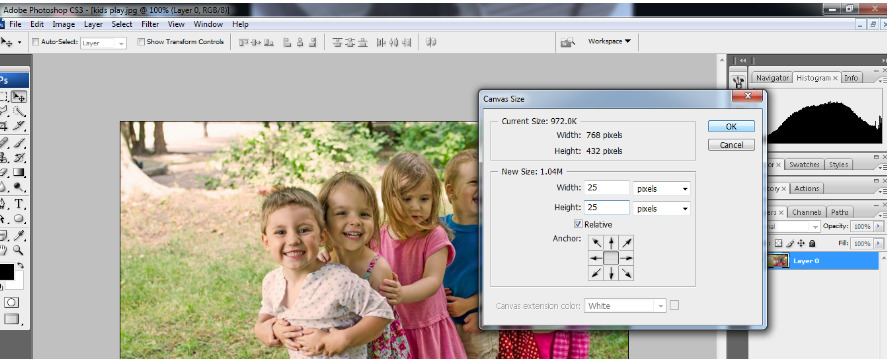
Once you set the parameter and click ok then you can see the extended canvas portion around the image which is blank now.
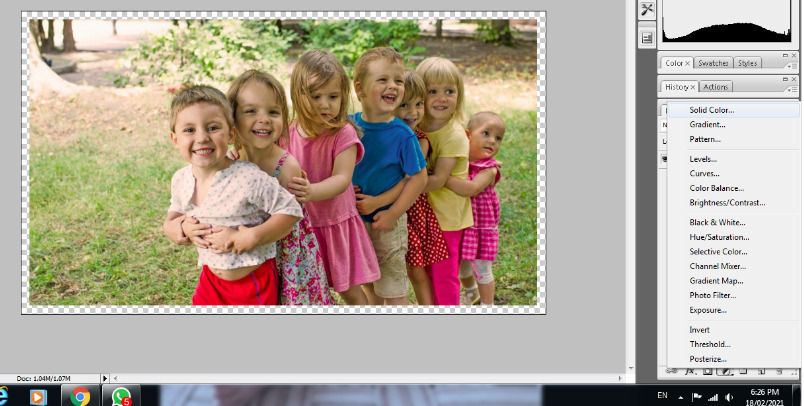
Now we have to fill the color for this border around the border.
Here we fill the black color inside the border.

Here you will see the full black screen or layer because this color fill is above our layer.
To see the border effect just drag this color fill layer below our image layer as shown in the below image.
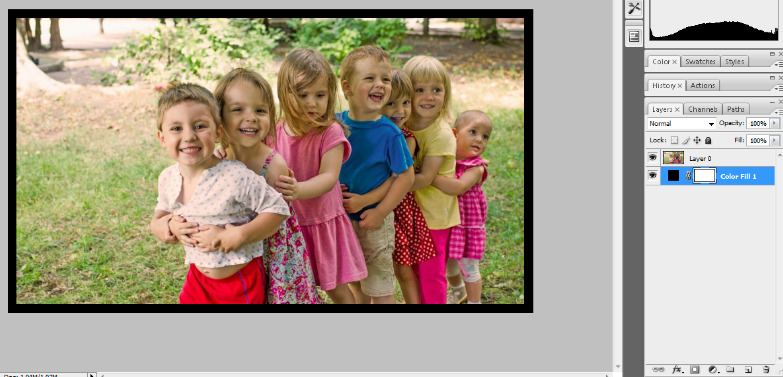
Now your order will be seen in the image which is black color now.
You can also change the color of your border.

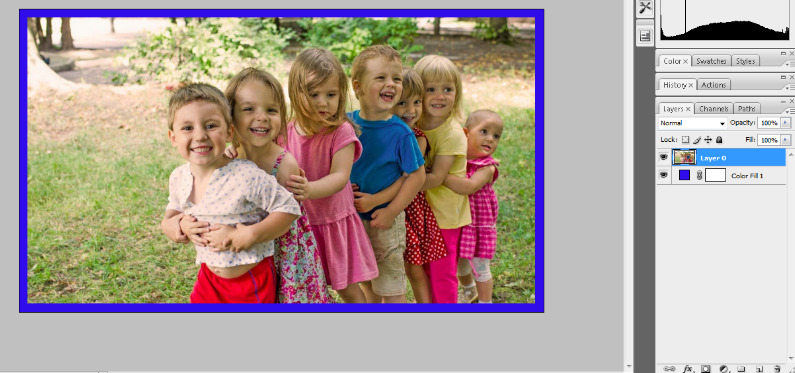
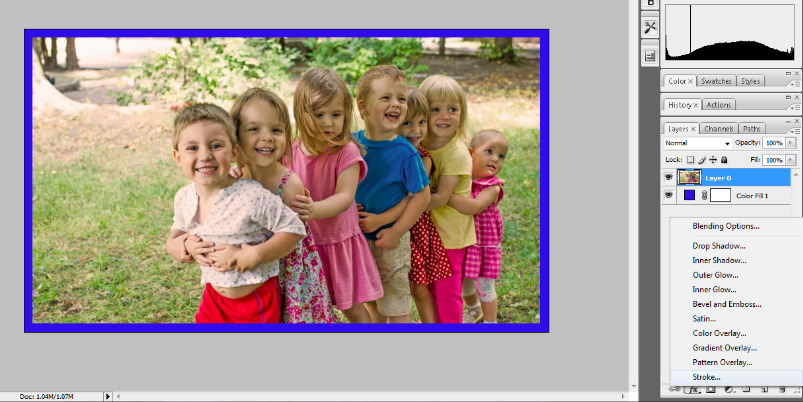
Now if you also want to make an inside border around your image.
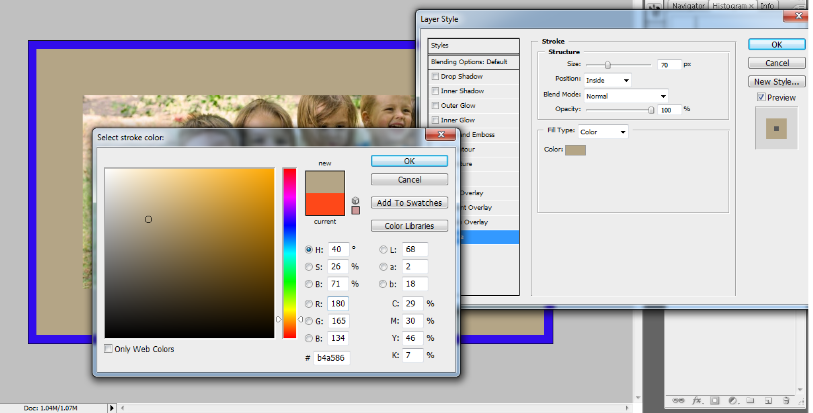
Then select your layer and then click on ‘add a layer style(fx)‘ and then select the stroke.
Here you can set the radius or width for the inside border.
And you can also change the color of your inside border.

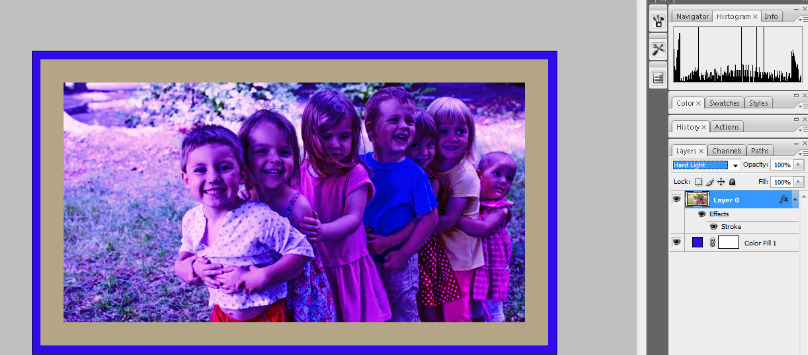
Now if you want to make your image more attractive then you can change the blending mode of your image as we have made ‘Hard light’ here. See the below image for the same.
You can also go through a few more blog links below related to Photoshop:
How do I quickly remove a tree background in Photoshop In Hindi…
How to Add Falling Snow to Your Photos with Photoshop…
How To Create A Starry Night Sky In Photoshop…
How to Turn A Photo Into A Collage With Photoshop In Hindi…
How to Add a Border to a Photo with Photoshop In Hindi…
How to Turn A Photo Into A Collage With Photoshop…
How to crop a circular image in Photoshop in Hindi…
Retro 3D Text with Photoshop in Hindi…
clipping mask in Photoshop in Hindi…
Conclusion:
In this blog post(How to Add a Border to a Photo with Photoshop), we have gone through a very amazing Photoshop technique which is to add a border to a photo with Photoshop. Here we make the border just by increasing the canvas size and filling the color inside it. And using the stroke option we can add the inside border in our photo.
In the case of any queries, you can write to us at a5theorys@gmail.com we will get back to you ASAP.
Hope! you would have enjoyed this post about How to Add a Border to a Photo with Photoshop.
Please feel free to give your important feedback in the comment section below.
Have a great time!