Hello Friends, In this blog post(How to Add Falling Snow to Your Photos with Photoshop), we are going to let you know how can you add the falling snow effects to your photos with Photoshop. This is quite an amazing Photoshop technique and it has a great impact on our images with this falling snow effect.
Most of you would have enjoyed this snowfall experience in your life at least once. The same in the image looks great to see this snowfalling effect. Inside this blog(How to Add Falling Snow to Your Photos with Photoshop), we are going to create the same effect of snowfall inside an image.
So if want to develop this effect into your image then please follow the below-given procedure(How to Add Falling Snow to Your Photos with Photoshop) step by step.
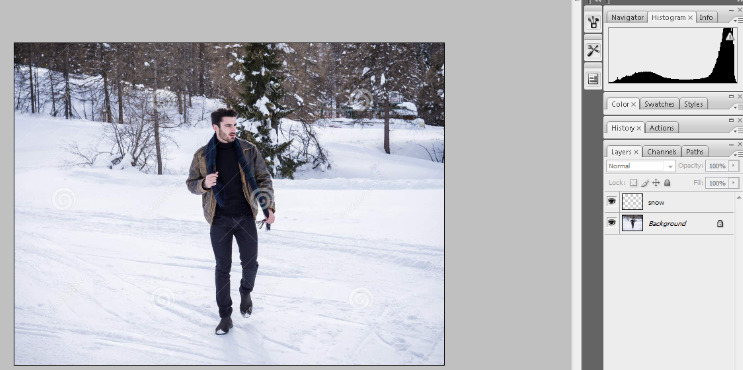
First, open a new image having snow in the base so that the falling image can be compatible with your image. However, you can add this snowfall effect to either of your images.
Then add a blank layer just above your background layer.

Now, rename this layer of snow.
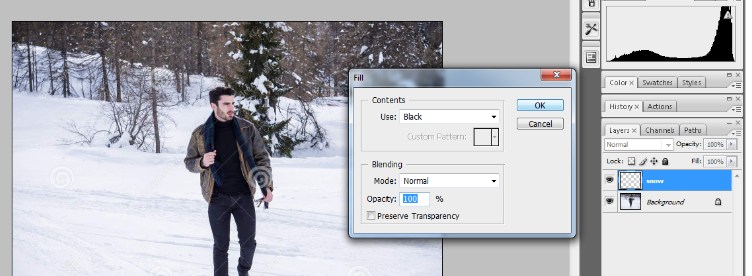
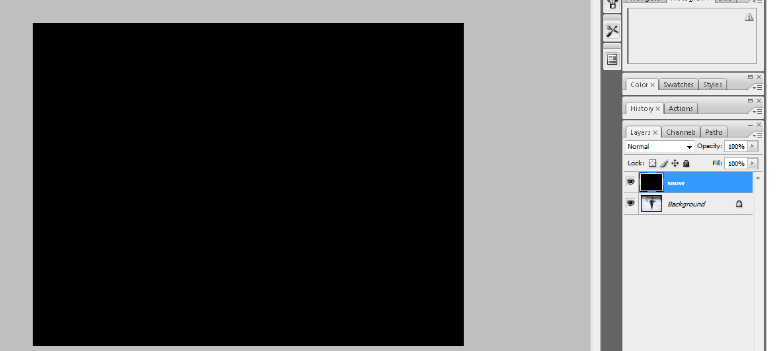
Go to the main menu and click Edit->Fill. And then select the black color and then click the om button.
Now go to the main menu and click Filter->Noise-> add noise.
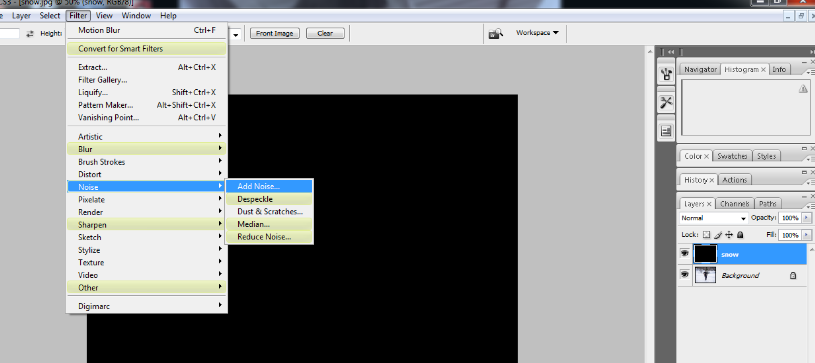
Now a noise window will open and you have set a few parameters inside it. See the below image for the same.

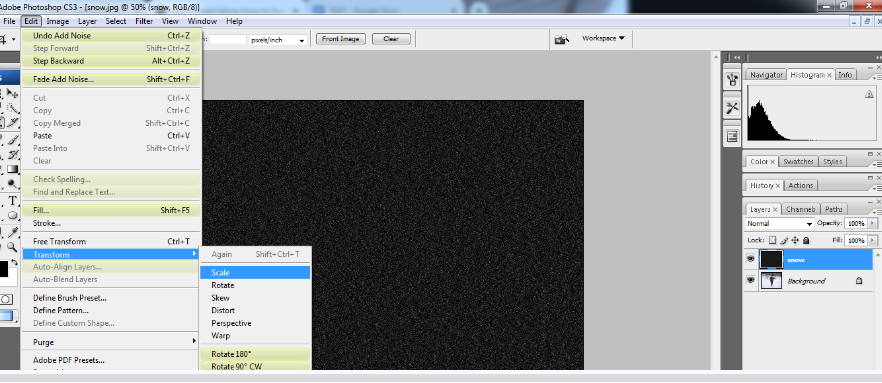
Now, we have increased the size of the noise and to do the same we have to click Edit->transform->scale.
And here set the width and height as 400% and then click ok.
Now we have to crop the hidden area of snow, but first, we have to see how much area has been hidden.
For doing this just go to Edit->free transform. And then click on View->Fit on the screen.


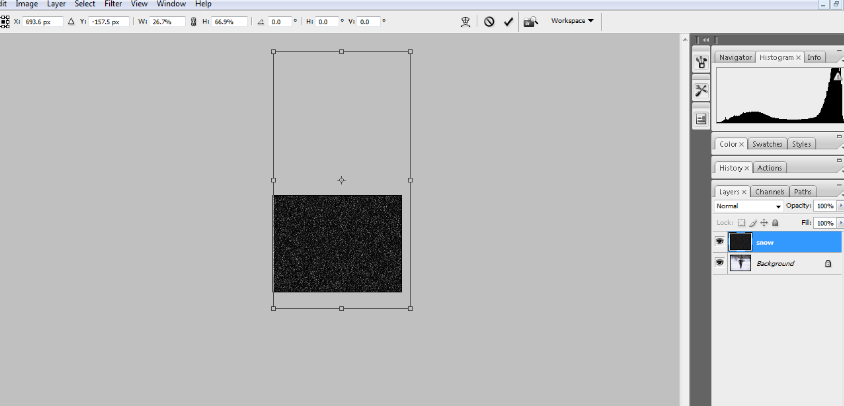
Now as we see the image in the center is already covering the snow layer so we will cancel the transform operation and will Zoom our file size.
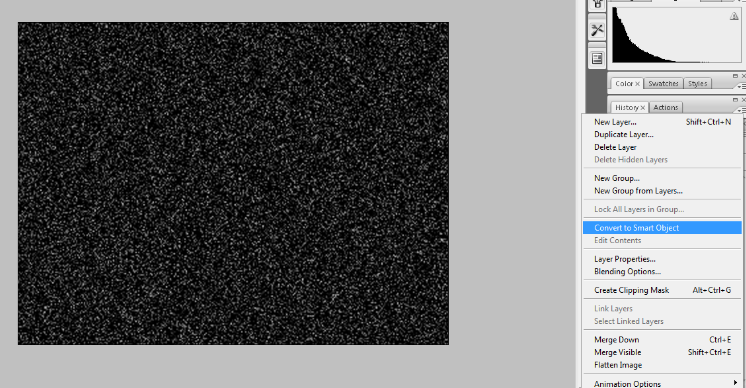
Now We will convert our snow layer into a smart object.
To do the same you just click the menu in the layer panel at the right corner and select the option ‘Convert to smart object‘.
Now change the layer blend mode to the screen.
Now we have to apply the motion blur filter effect. Go to the main menu and click Filter->Blur->Motion Blur.
Now set the parameter for the motion blur filter and then click ok.

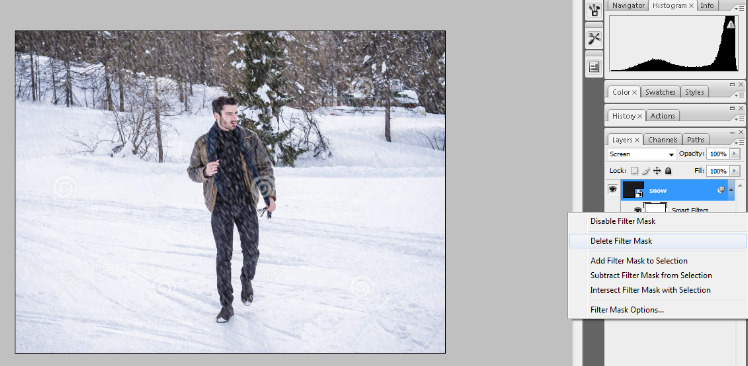
Now delete the layer mask, just click on the layer mask and then do right-click and select the option ‘Delete filter mask‘.
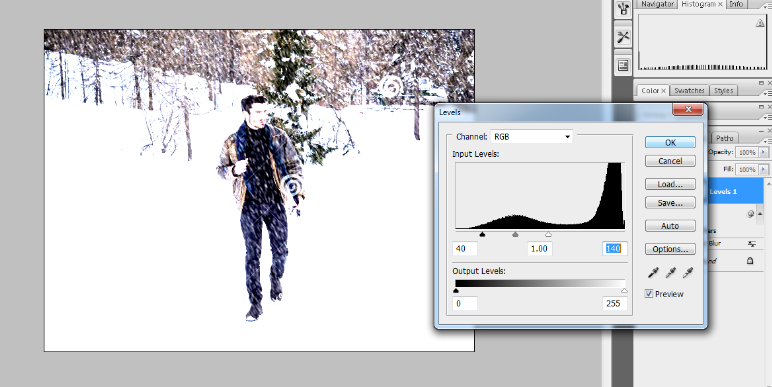
Now add the level image adjustment and set the parameter as given in the below image.
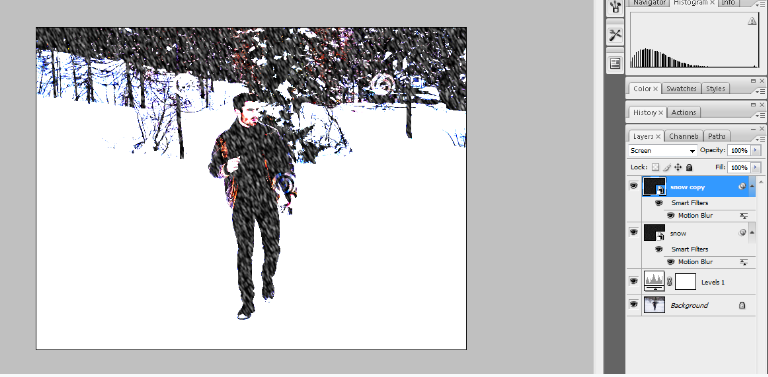
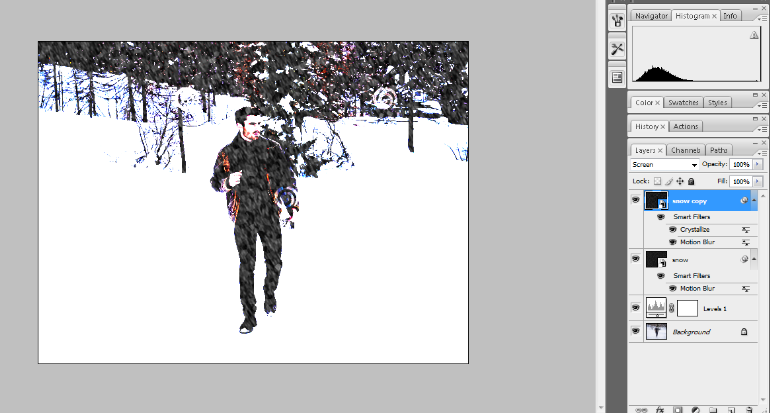
Now make a duplicate copy of the snow smart object. See the below image for the same.
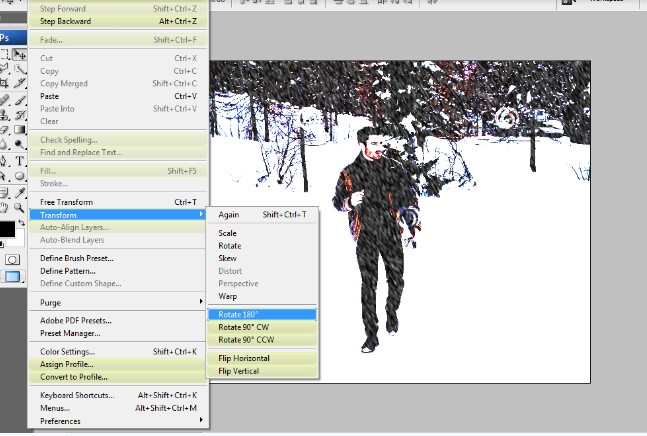
Now rotate the smart object copy to 180 degrees. Go to Edit->Transform->Rotate 180 degrees.
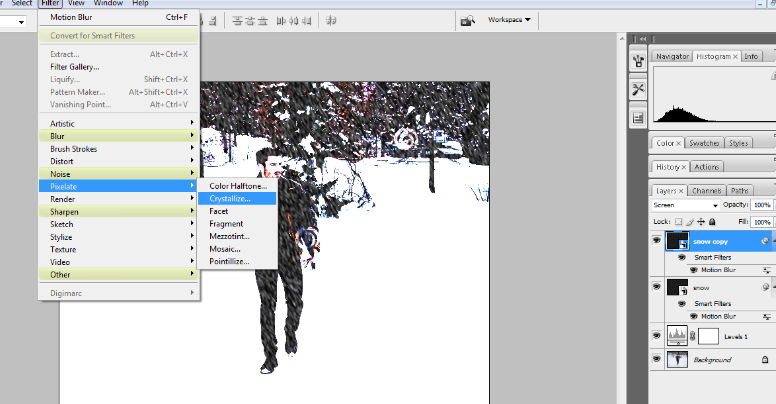
Now apply the crystalized filter. Click Filter->Pixelate->Crystalize.
Then set the parameter as shown below.
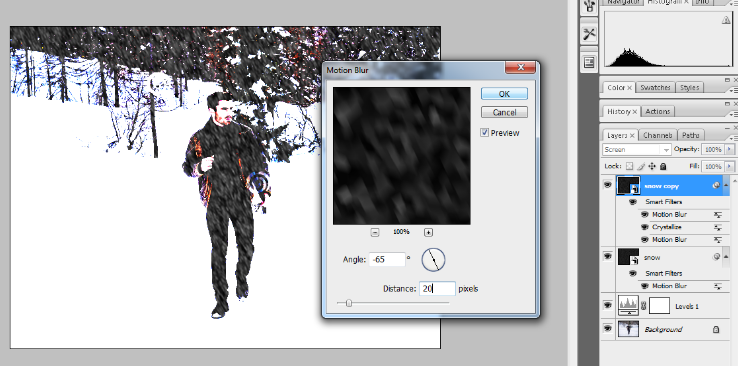
Now apply the motion blur filter again and set the parameter as shown in the below image.
Now make your effect much finer and better you just add the level adjustment effect once more.
And then set the parameter for the white and black point slider as shown in the below image.
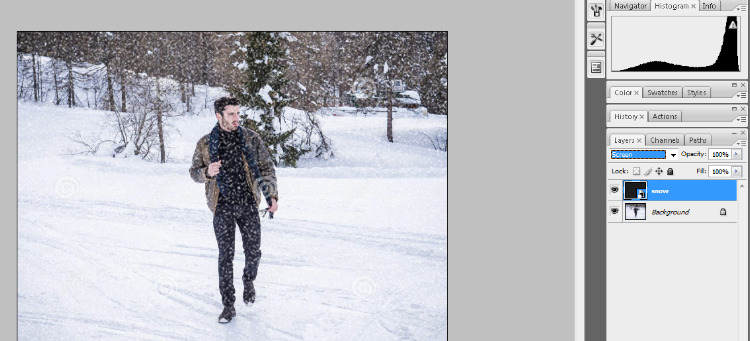
Here, we get our final snowfall image, though you can change it a little bit or more by updating the parameters of all the applied filters.
You can also go through a few more blog links below related to Photoshop:
How do I quickly remove a tree background in Photoshop In Hindi…
How to Add Falling Snow to Your Photos with Photoshop…
How To Create A Starry Night Sky In Photoshop…
How to Turn A Photo Into A Collage With Photoshop In Hindi…
How to Add a Border to a Photo with Photoshop In Hindi…
How to Turn A Photo Into A Collage With Photoshop…
How to crop a circular image in Photoshop in Hindi…
Retro 3D Text with Photoshop in Hindi…
clipping mask in Photoshop in Hindi…
Conclusion:
So Friends, inside this blog post(How to Add Falling Snow to Your Photos with Photoshop) we have learned the functionality of snowfall inside an image. This is an amazing Photoshop technique and it looks very attractive to see inside an image. To develop this snowfall effect we mainly use Filters, smart objects, level adjustment, and free transformation from the Photoshop toolkit.
In the case of any queries, you can write to us at a5theorys@gmail.com we will get back to you ASAP.
Hope! you would have enjoyed this post about How to Add Falling Snow to Your Photos with Photoshop.
Please feel free to give your important feedback in the comment section below.
Have a great time!